
One minute mug treats are just the best. They are quick, easy, use on hand ingredients, and they save me a trip to the store (and some money) if I have a craving that just won't quit. They also produce no leftovers, which stops any secondary snacking that could happen later. They really are the perfect treat solution for me. My go to is normally Mug Coffee Cake, but Mug Brownie is perfect for chocolate cravings.
I recently got some coconut oil and wanted to try it in my baking. It initially felt weird to use it, as I normally purchase and use coconut oil as a moisturizer or bath oil. I had to remind myself it was food and perfectly good to eat. I replaced the butter in the mug brownie recipe with coconut oil and was really pleased with the results. The brownie was pretty much exactly the same as the butter version but with a subtle hint of coconut (which was lovely).
For my Mug Brownie, I use the recipe found here. I cut the original recipe in half as I found the full recipe made a little too much brownie for me.
Mug Brownie
1 tbs coconut oil (or butter), melted
1 tbs water
splash vanilla
dash salt
1 tbs cocoa powder
2 tbs sugar
2 tbs flour
Method
1. Choose a mug perfect for the occasion. I chose my Care Bear Cousins mug, as I wanted to "treat myself to something special" as they suggest.

2. Melt coconut oil in mug. Using a whisk, mix oil, water, vanilla, and salt until mixed.
3. Add coca powder and whisk until mixed. Add sugar and whisk until mixed. Add flour and whisk until mixed.
4. Microwave for 60 seconds.
Enjoy as is, or got nuts and add whip cream and dark chocolate chips to the top.


Have fun!
I recently got some coconut oil and wanted to try it in my baking. It initially felt weird to use it, as I normally purchase and use coconut oil as a moisturizer or bath oil. I had to remind myself it was food and perfectly good to eat. I replaced the butter in the mug brownie recipe with coconut oil and was really pleased with the results. The brownie was pretty much exactly the same as the butter version but with a subtle hint of coconut (which was lovely).
For my Mug Brownie, I use the recipe found here. I cut the original recipe in half as I found the full recipe made a little too much brownie for me.
Mug Brownie
1 tbs coconut oil (or butter), melted
1 tbs water
splash vanilla
dash salt
1 tbs cocoa powder
2 tbs sugar
2 tbs flour
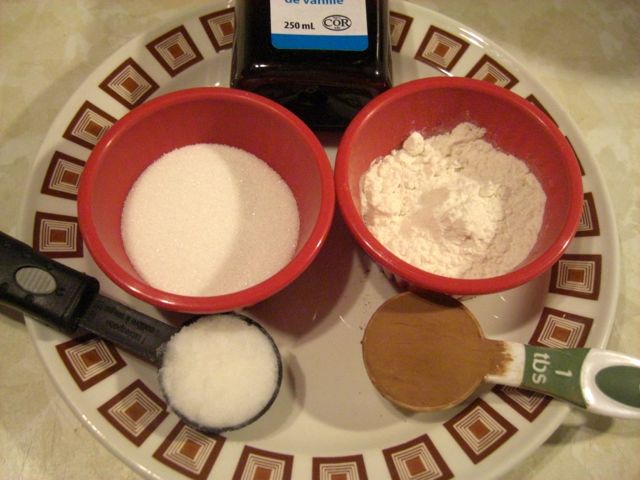 |
| Coconut oil, sugar, vanilla, flour, cocoa powder |
1. Choose a mug perfect for the occasion. I chose my Care Bear Cousins mug, as I wanted to "treat myself to something special" as they suggest.
2. Melt coconut oil in mug. Using a whisk, mix oil, water, vanilla, and salt until mixed.
3. Add coca powder and whisk until mixed. Add sugar and whisk until mixed. Add flour and whisk until mixed.
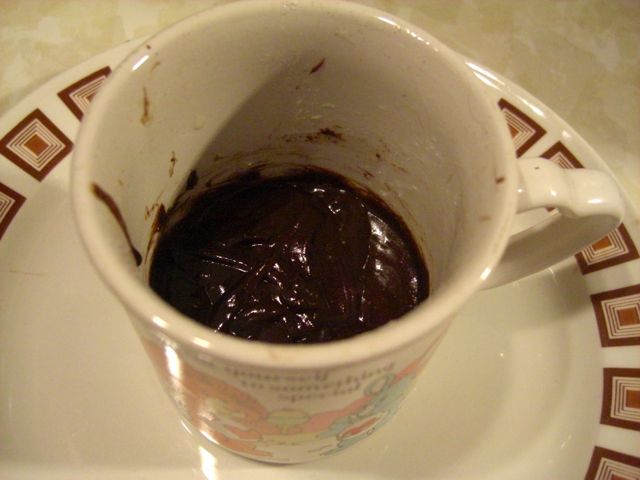 |
| Pre- microwave |
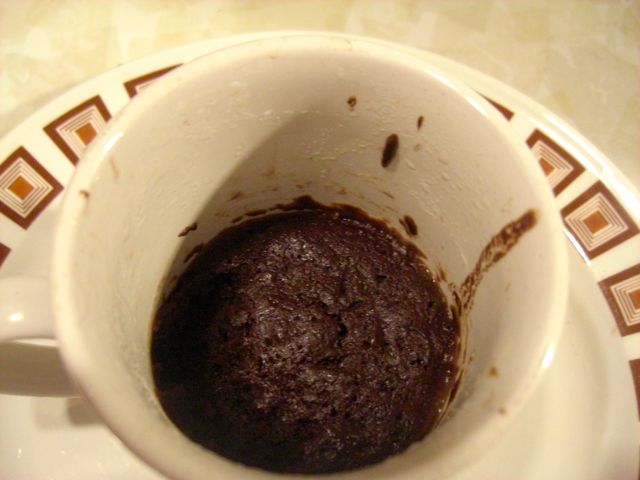 |
| 1 minute brownie! |
Have fun!


